We’d love to give you a behind the scenes look of how the Dato DUO is developed/made. As I write this, we are still in the process of developing the Dato DUO from a prototype to a production-ready product. We will keep this post updated with all the interesting bits that go into that process.
The first Dato DUO prototypes used off-the-shelf buttons and keys. We cut up a sheet of Adafruit’s silicone button pads for the sequencer step buttons.
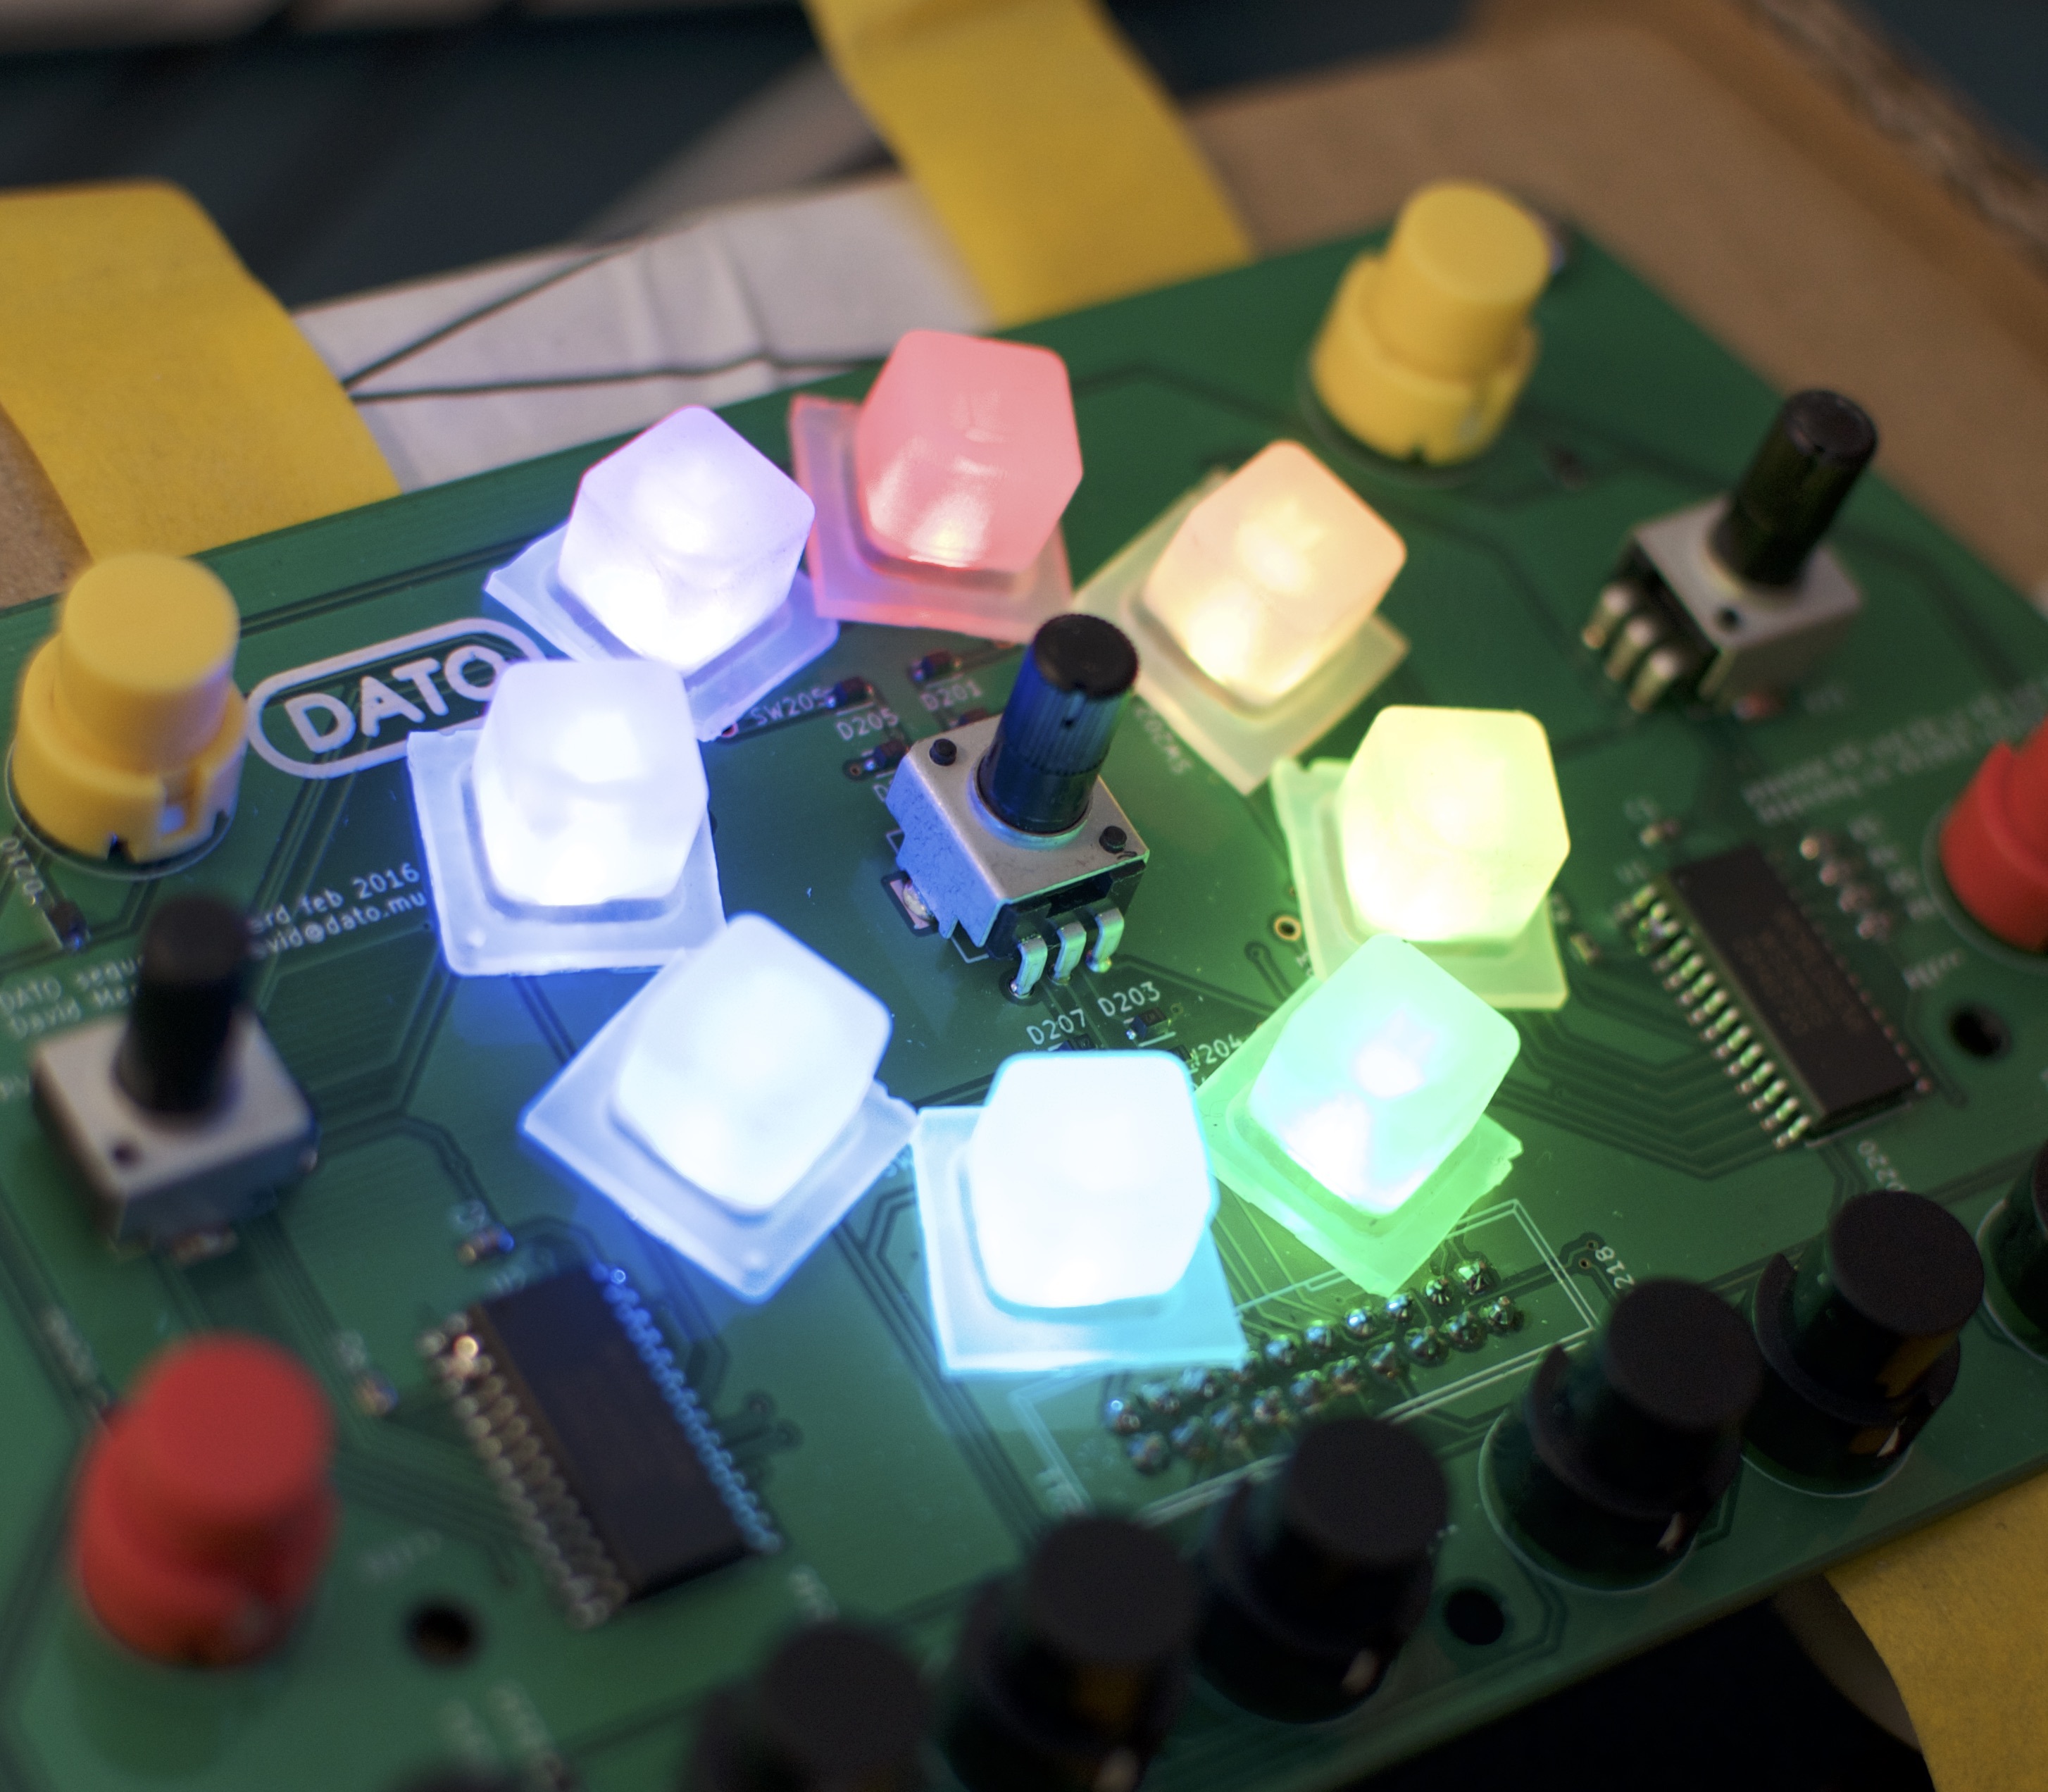
The buttons were held in place by the front panel.
While it looks okay, this is something we really wanted to change in the final DUO.
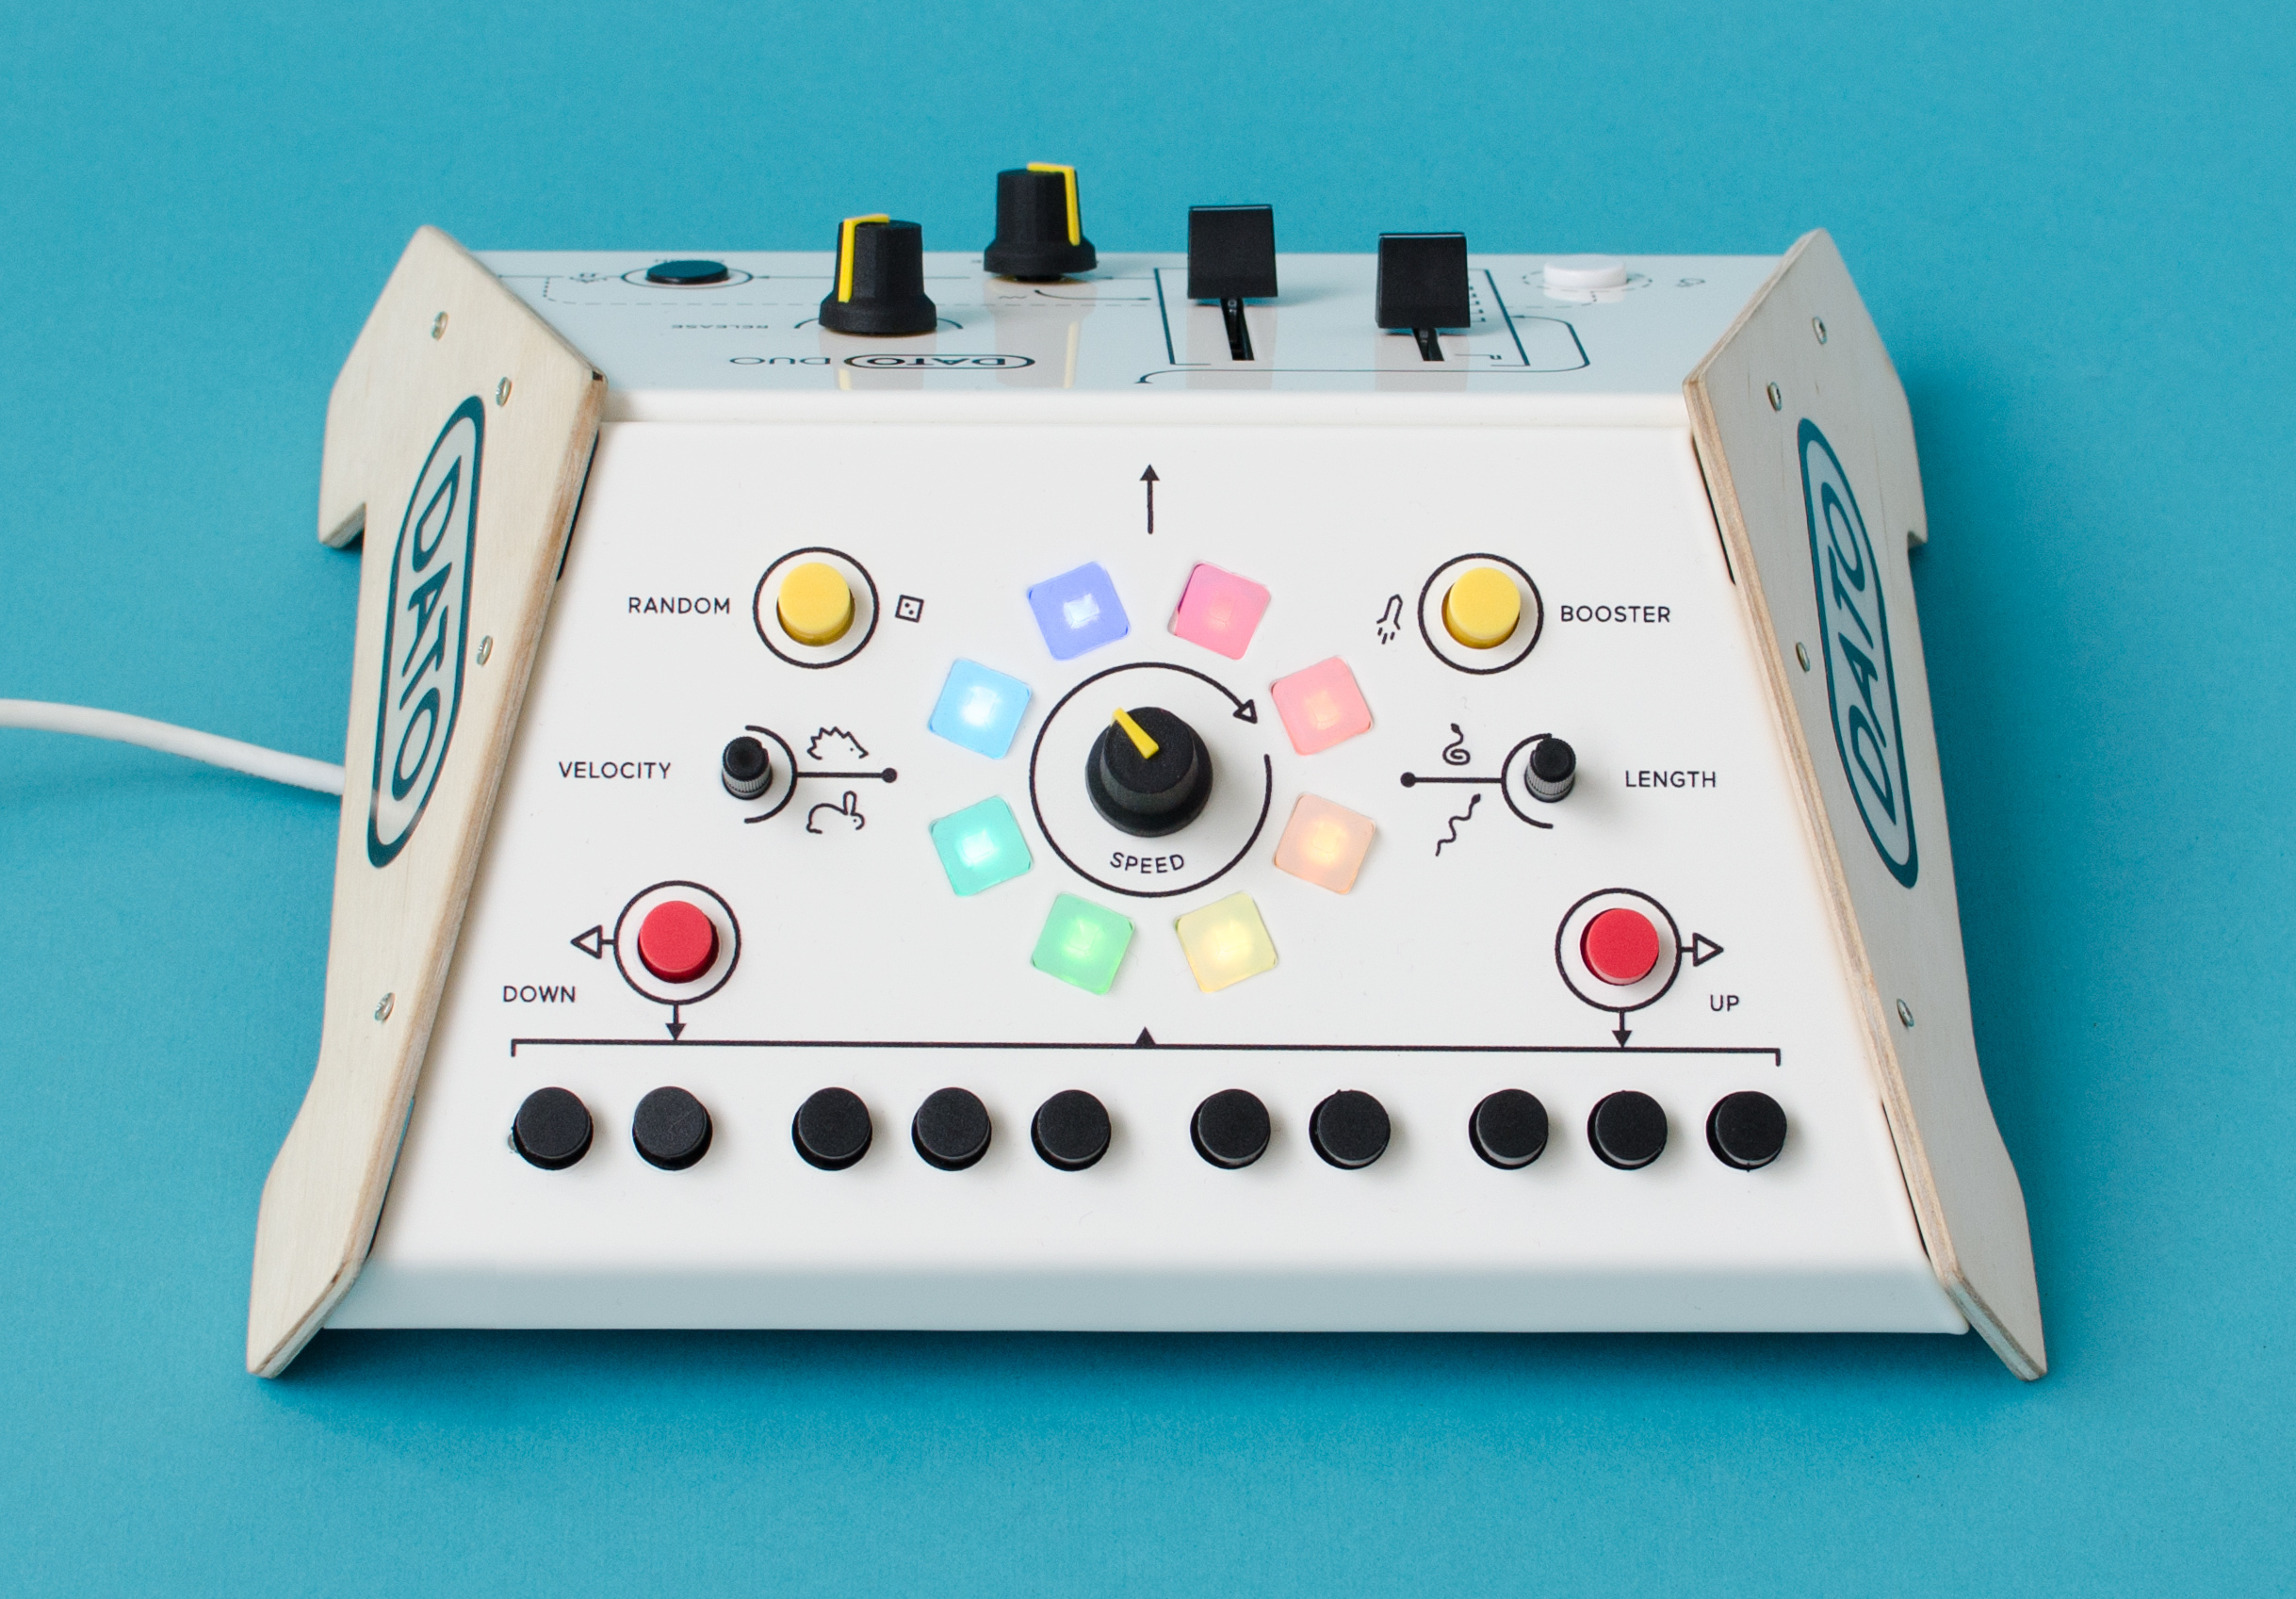
If you’ve seen our recent Kickstarter update, you’ve already seen some of the things that go into making a custom silicone keypad.
It all starts with the design. Going for a custom keypad gives us a lot of freedom in shape and size of the buttons. That means we can go with arrows, circles and piano-style keys!
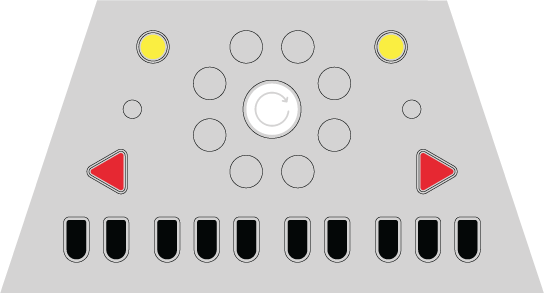
The 2D drawing is then built up into a 3D STEP file for the keypad. The ‘snap’ (clickyness’), light distribution and the carbon contact footprint all rely on this 3D file, so there are many things to take into account. Toon spent countless hours going through design guidelines and looking at existing keypads.
Here is what the 3D file looks like:

This file is then sent to the manufacturer, who is responsible for the design of the mould. I’ll dive into that in a later post.